
Main : Stamps ; Projects ; Tasty Tag Tab Book ; Tag Tab Directions
|
Supply List brown kraft paper, or grocery bags Wonder Wash chipboard cardstock text weight paper asst. brads asst. fibers Distress Inks gluestick |
Tools needed metal cork backed ruler bone folder scissors assorted corner punches decorative corner scissors hole punch- asst. sizes food image stamps- Food |
|
Cover- Step 1 Make paper for covers cut brown Kraft paper approx 5.5" x 10.5" Crumple brown Kraft paper Make Wonder Wash spritzer 1 part WW 3 parts water Liberally spritz paper, mostly gold with copper and silver highlights Zap with heat gun until completely dry |
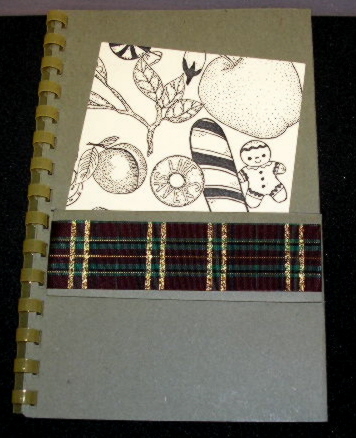
Cover- Step 2 Cover chipboard very liberally with gluestick center on wrong side of kraft paper. Burnish lightly from back Clip corners leaving approx. 1/16" at corner. Short sides first cover end flaps with gluestick and fold over edge smoothing it down. When all 4 edges are done, burnish from back. Add a small brad to a red photo mount corner and glue to outside corners of cover. |
|
Cover- Step 3 Inside cover Trim a piece of text weight paper 1/2" smaller than cover, center and glue to inside. Do not decorate front cover until the book is complete. |
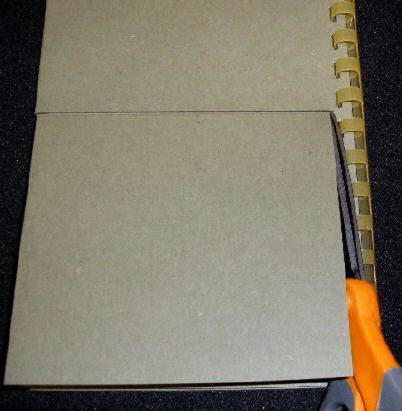
Pages Using full sheets of cardstock, fold each in half so it's 5.5" x 8.5" Do not use bone folder on this, you want a soft fold use doublestick tape or gluestick at bottom of inside- this makes the basic pocket page |
|
You may wish to add pages of text weight paper in between the "pocket" pages. At this point, have the book assembled and comb bound, making sure the open end of each page is at the top |
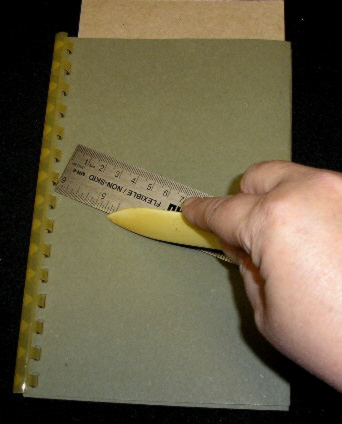
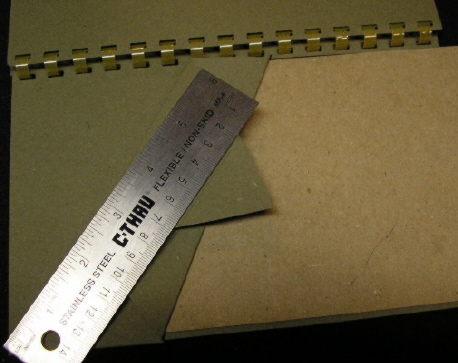
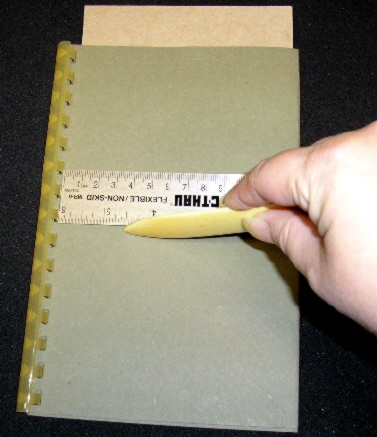
Now for the pockets. Use a piece of scrap chipboard to put inside pocket while you score it |
|
and score where you want the fold |
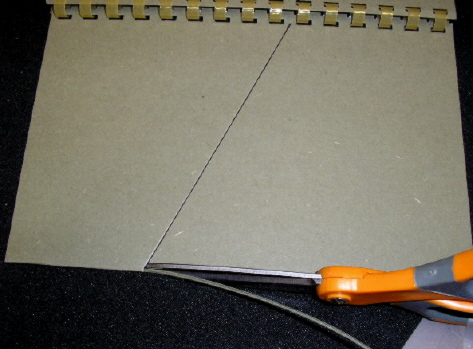
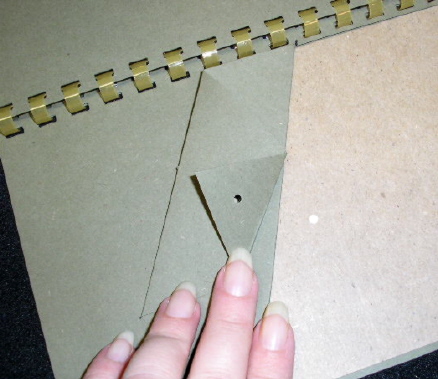
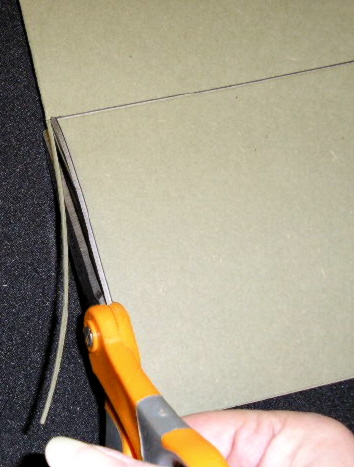 Cut edge off side of page from top down to scored fold line |
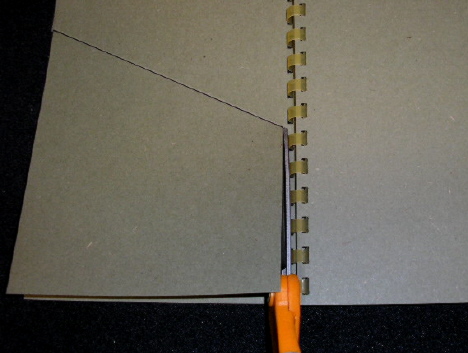
 Cut inside of page from top down to scored fold line |
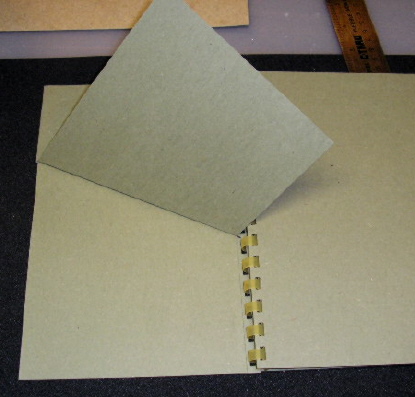
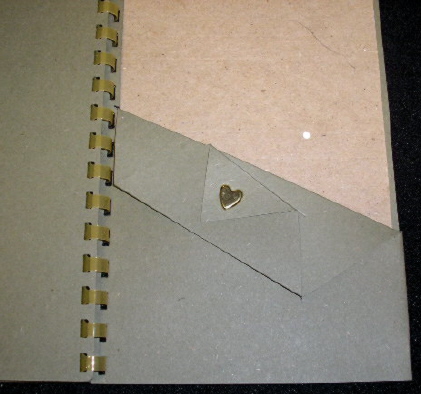
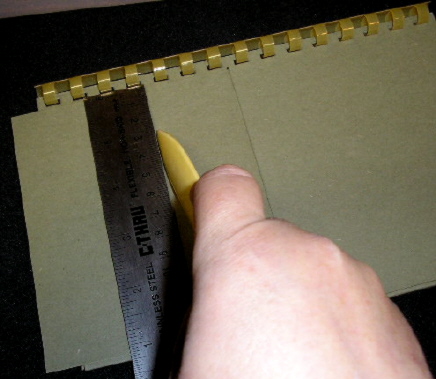 Score again where you want a second fold |
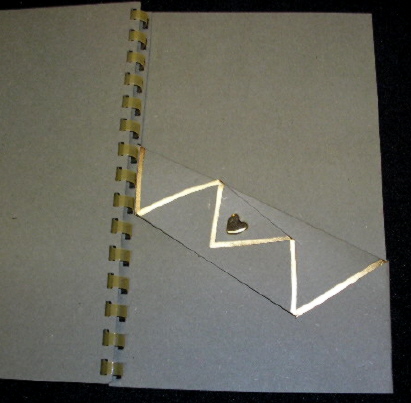
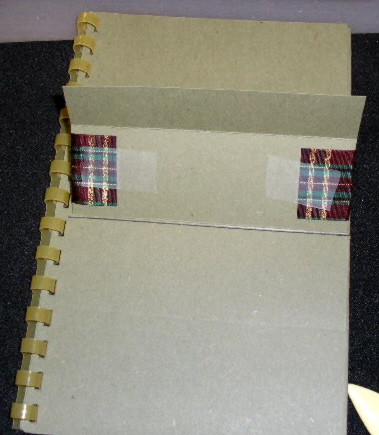 Attach ribbon with tape- it will be hidden |
add brads as desired |
 Score |
 Trim edge |
 Cut |
 Fold |
 Trim flap |
 Score second fold |
 Score third fold |
 Punch hole for brad |
 Insert brad |
 I edged this one with Krylon just so the folded edge would show better in scan |
©Vicki Blancq Oct. 2004
Copyright©
2000-2016 Stubby
Stampers.
New additions
January 10, 2016
Website
Design By VABHAB Designs.